How to Measure and Install Wainscoting: A Beginner's Guide
Dec 29, 2024
Adding wainscoting to your home is a stylish and practical way to enhance your walls while embracing the timeless charm of interior design. Whether you’re aiming to elevate your space with modern wainscoting ideas or stick to a more traditional style, this guide will walk you through the process of measuring and installing wainscoting. Let’s explore the benefits of wainscoting and learn how to achieve professional-looking results, even as a beginner.
Benefits of Wainscoting
Before diving into the installation process, it’s worth noting why wainscoting is such a popular choice among homeowners and interior design enthusiasts.
Enhanced Aesthetics: Wainscoting adds texture and depth to plain walls, making rooms feel more sophisticated.
Wall Protection: It acts as a protective barrier against scuffs, scratches, and other damage, particularly in high-traffic areas.
Increased Home Value: Potential buyers often view wainscoting as an upscale feature, enhancing the overall appeal of your home.
Customizable Styles: From traditional raised panels to modern wainscoting ideas, the options are endless, ensuring there’s a design to match any interior.
Now that we’ve covered the benefits, let’s move on to the step-by-step guide for measuring and installing wainscoting.
Step 1: Planning Your Wainscoting Project
Every successful project starts with careful planning. Here’s what you need to consider:
Choose Your Style: Decide between popular styles such as raised panel, beadboard, or board and batten. Consider how it will align with current interior design trends in your home.
Select Materials: Wainscoting can be made from wood, MDF, PVC, or other materials. Your choice depends on your budget and desired aesthetic.
Determine Height: Wainscoting typically covers the lower third of a wall, but you can adjust the height to suit your room’s proportions.
Step 2: Measuring Your Walls
Accurate measurements are crucial to ensuring a smooth installation process.
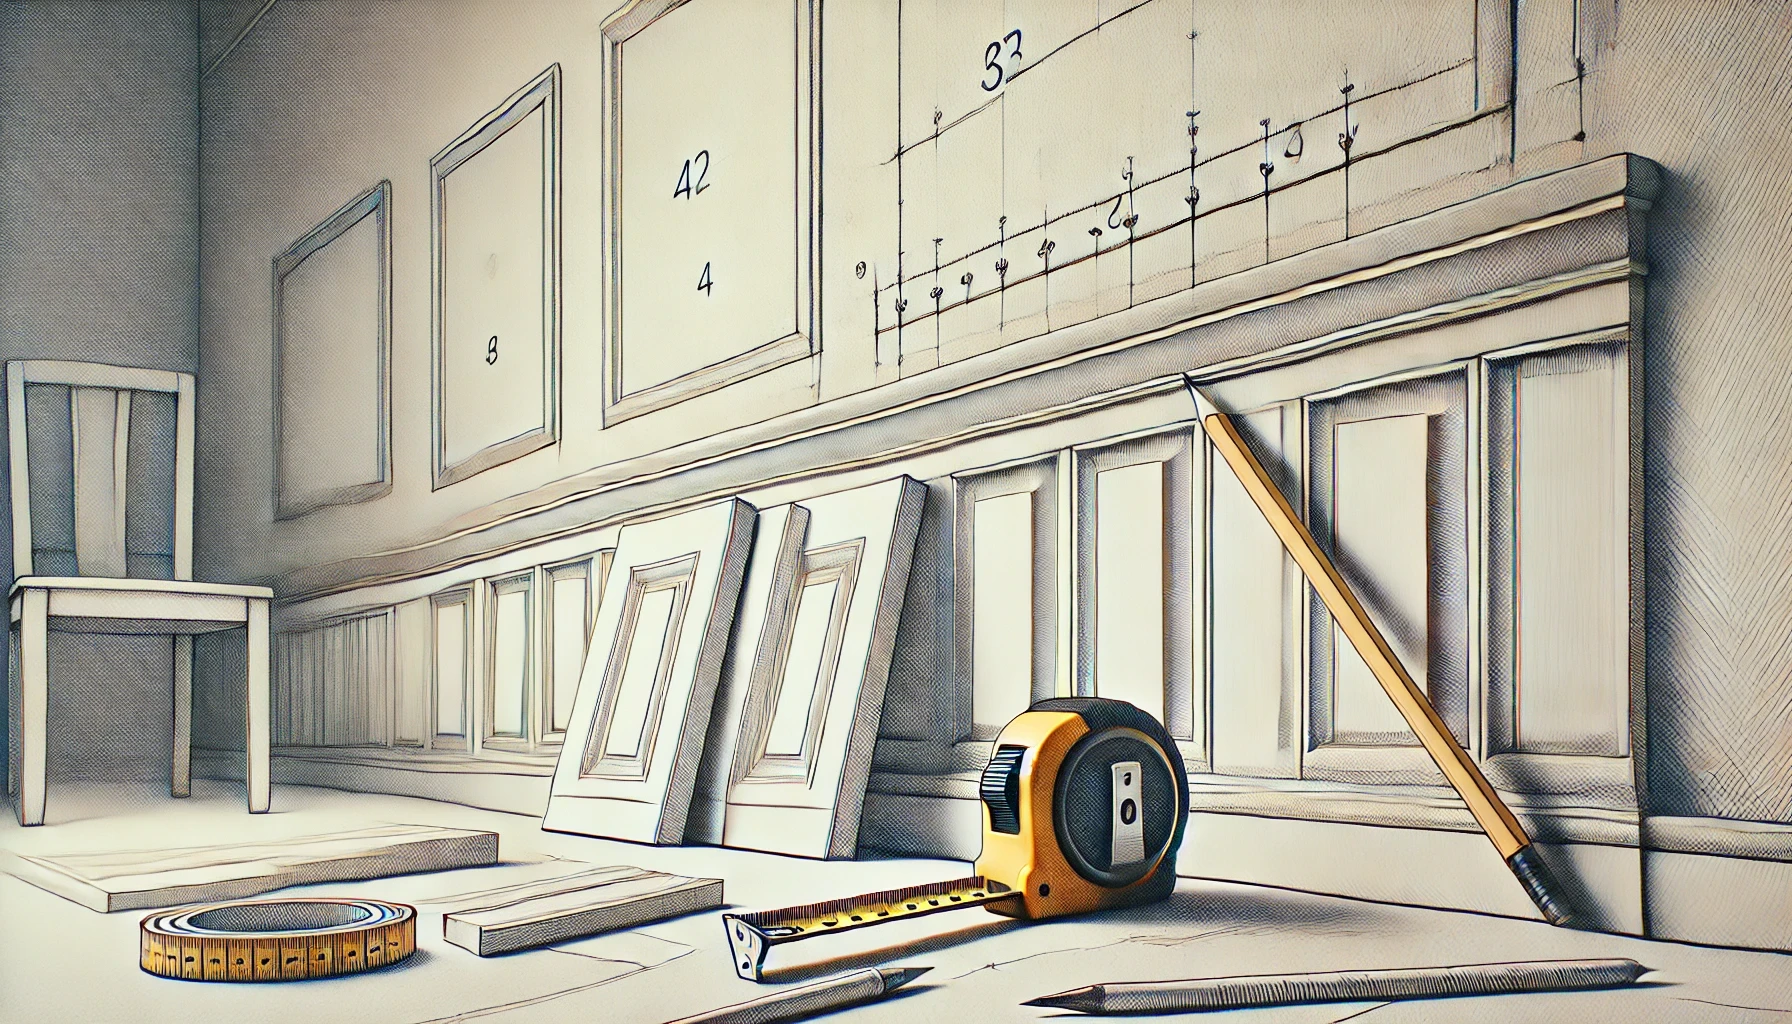
Measure the Wall Length: Use a tape measure to record the total length of the walls where you’ll install wainscoting. Write these measurements down.
Measure the Height: Decide on the height of your wainscoting and mark it on the wall. Common heights are between 32 and 42 inches.
Account for Obstacles: Consider windows, electrical outlets, and baseboards when measuring. Subtract these areas from your calculations to ensure precise material estimates.
Step 3: Preparing the Wall
Preparation is key to achieving a flawless finish.
Clean the Surface: Remove any dirt, dust, or grease from the walls.
Mark the Layout: Use a pencil to draw a guide for the top edge of your wainscoting.
Remove Baseboards: If necessary, carefully detach existing baseboards to make room for the wainscoting panels.
Step 4: Cutting and Assembling Panels
Once your materials are ready, it’s time to cut and assemble the wainscoting panels.
Cut Panels to Size: Use a saw to cut the panels according to your measurements. Double-check your calculations before cutting.
Preassemble Frames: If you’re installing raised panel wainscoting, preassemble the frames to streamline installation.
Sand Edges: Smooth out any rough edges to ensure a seamless fit.
Step 5: Installing the Wainscoting
Now comes the exciting part: bringing your vision to life.
Attach Panels: Apply construction adhesive to the back of each panel and press it firmly onto the wall. Secure with nails for extra stability.
Add Trim and Molding: Install chair rails and baseboards to complete the look. Use a level to ensure everything is aligned.
Fill Gaps and Nail Holes: Use wood filler to cover any gaps or nail holes. Sand the filler once it’s dry for a smooth finish.
Step 6: Painting or Staining
The final step is to paint or stain your wainscoting to match your room’s decor.
Prime the Surface: Apply a primer to ensure the paint adheres evenly.
Paint or Stain: Use a brush or roller for an even application. Choose a color that complements your overall design theme.
Tips for Success
Take Your Time: Precision is more important than speed, especially if you’re new to DIY wainscoting.
Use Quality Tools: Investing in good tools will make the process easier and result in a more professional finish.
Follow Safety Precautions: Always wear safety goggles and gloves when using power tools.
Conclusion
Installing wainscoting may seem daunting, but with careful planning and attention to detail, it’s a project that even beginners can master. From adding character to protecting your walls, the benefits of wainscoting are well worth the effort. Ready to get started? Explore our collection of wainscoting samples and tools to bring your vision to life. Whether you’re inspired by modern wainscoting ideas or timeless classics, we have everything you need to transform your home.
Contact us today or order a sample to begin your wainscoting journey!