DIY Wainscoting: A Step-by-Step Guide for Beginners
Dec 30, 2024
Wainscoting is a timeless design feature that adds elegance and character to any home. Not only does it enhance the aesthetic appeal of your space, but it also offers practical benefits like wall protection. Whether you're drawn to classic styles or modern wainscoting ideas, this step-by-step guide will help you create stunning wainscoting as a beginner. Let’s explore the benefits of wainscoting and how to install it in your home.
Benefits of Wainscoting
Before diving into the DIY process, it’s important to understand why wainscoting is such a popular choice:
Aesthetic Appeal: Wainscoting adds depth and texture, instantly elevating your home’s interior.
Wall Protection: It shields your walls from scuffs, scratches, and other damage in high-traffic areas.
Increased Home Value: A professionally finished wainscoting project can enhance your home’s market value.
Customizable Styles: From traditional raised panels to modern wainscoting ideas, there are designs to fit any home decor.
Tools and Materials You’ll Need
To get started with your DIY wainscoting project, gather the following tools and materials:
Measuring tape
Level
Pencil
Saw (hand or power)
Nail gun or hammer and nails
Adhesive
Wood filler
Sandpaper
Primer and paint
Wainscoting panels or boards
Chair rail and baseboard molding (optional)
Step 1: Plan Your Design
The first step to a successful DIY project is careful planning.
Choose Your Style: Decide on the type of wainscoting that fits your space. Popular styles include raised panel, beadboard, and board and batten.
Determine the Height: Wainscoting typically covers the lower third of a wall, but you can adjust the height to suit your preferences.
Sketch Your Layout: Draw a rough outline of your design on paper or use an online tool to visualize the placement of panels and trim.
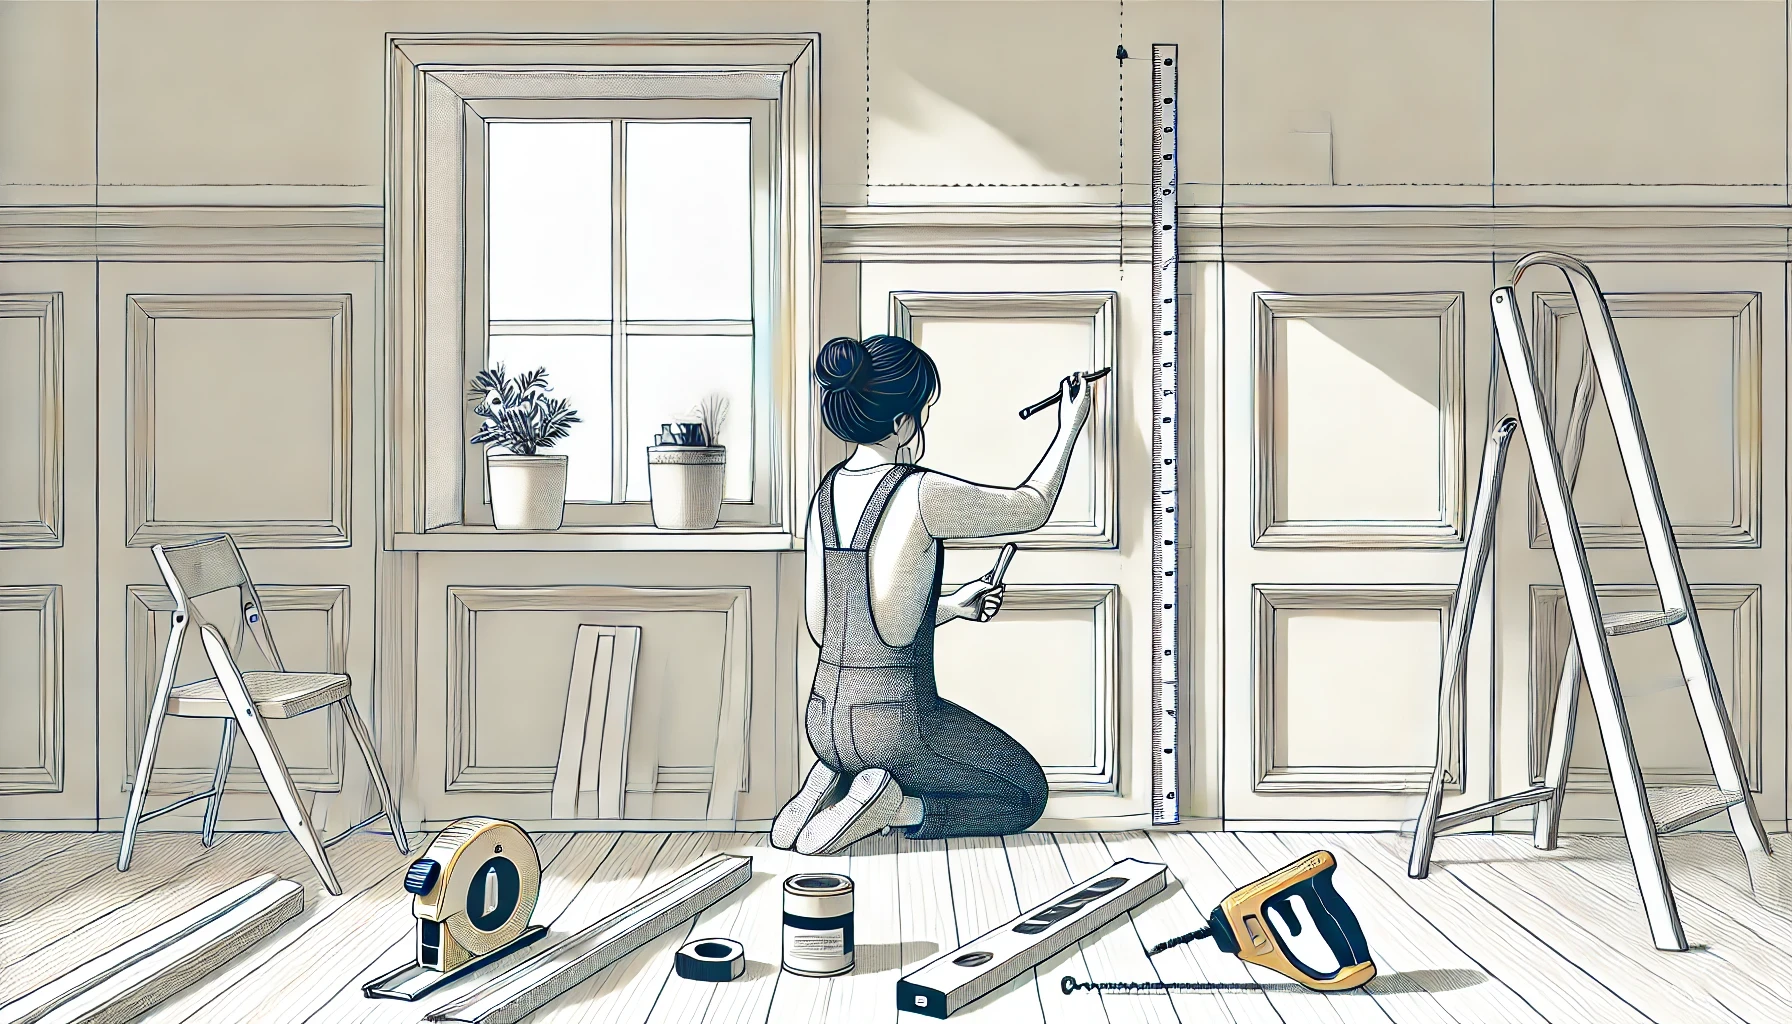
Step 2: Measure Your Walls
Accurate measurements are critical for a seamless installation.
Measure the total length of the walls where you plan to install wainscoting.
Mark the desired height of your wainscoting on the wall using a level and pencil.
Account for any obstacles like outlets, windows, or corners in your calculations.
Step 3: Cut and Prepare Materials
With your measurements in hand, it’s time to cut and prepare your materials.
Cut Panels to Size: Use a saw to cut the wainscoting panels or boards to fit your wall dimensions.
Sand Edges: Smooth any rough edges with sandpaper to ensure a polished finish.
Prepare Molding: If you’re adding chair rail or baseboard molding, cut these pieces to size as well.
Step 4: Install Wainscoting Panels
Now comes the fun part—bringing your design to life!
Attach Panels: Apply adhesive to the back of each panel and press it firmly onto the wall. Use a nail gun or hammer and nails for added stability.
Check Alignment: Use a level to ensure that each panel is straight and evenly spaced.
Fill Gaps: Apply wood filler to fill any gaps or nail holes, then sand the area smooth.
Step 5: Add Trim and Molding
Trim and molding can give your wainscoting a finished, professional look.
Attach baseboards along the bottom edge of the panels.
Install chair rail molding along the top edge to frame the wainscoting.
Secure the molding with nails or adhesive, ensuring it aligns perfectly with the panels.
Step 6: Paint or Stain Your Wainscoting
The final step is to paint or stain your wainscoting to match your decor.
Prime the Surface: Apply a primer to ensure even paint application and long-lasting results.
Paint or Stain: Use a brush or roller to apply your chosen color or finish. Consider using bold or trendy colors to align with current interior design trends.
Touch Up: Inspect your work and touch up any areas that need additional paint or filler.
Tips for Success
Take Your Time: Precision is key. Rushing can lead to mistakes.
Invest in Quality Materials: High-quality panels and molding will result in a more polished look.
Follow Safety Precautions: Always wear safety goggles and gloves when cutting materials or using power tools.
Conclusion
DIY wainscoting is an accessible project that can transform any room in your home. By understanding the benefits of wainscoting and following this step-by-step guide, you can achieve professional-looking results that elevate your interior design. Whether you prefer classic styles or modern wainscoting ideas, the possibilities are endless.
Ready to start your wainscoting project? Explore our range of materials and tools designed to make your DIY journey smooth and enjoyable. Contact us today or order a sample to get started on creating the home of your dreams!